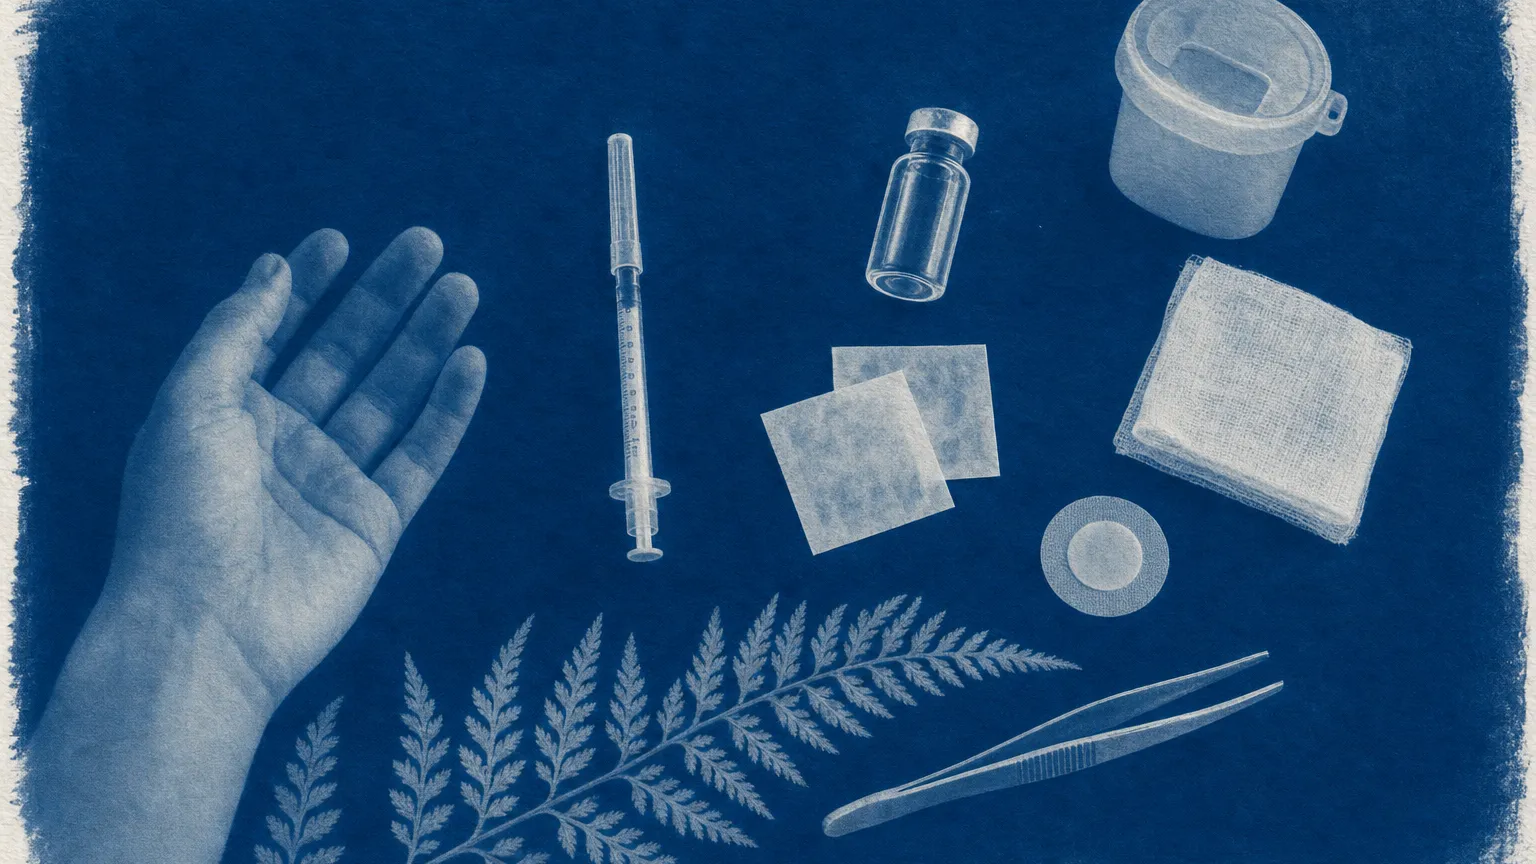
Quick answer: to learn how to inject peptides subcutaneously, follow the steps approved peptide labels use: wash your hands, clean a site on the abdomen, thigh or upper arm with alcohol and let it dry, pinch a fold of skin, insert a short needle at 90 degrees, let go, push the plunger slowly, then drop the syringe straight into a sharps container.[1][2] Use a new needle and syringe every time,[4] and change the spot with every dose.[2]
This is an educational guide based on the instructions for approved products such as tesamorelin, tirzepatide and semaglutide. Your prescriber’s and your product’s instructions come first. If a product has no approved label or prescriber behind it, there is no tested technique, dose or storage plan to follow, and FDA has flagged safety concerns with several such peptides.[9] More background is on our peptide basics hub.
Set up a safe space at home first
A good setup prevents most mistakes before you pick up a needle.
- Pick one clean, flat, well-lit surface away from food prep, pets and children. Wipe it down.
- Lay out everything you need before you start (see the checklist below), so you never have to put down an uncapped needle.
- Put the sharps container within arm’s reach. FDA says used needles go into a sharps container immediately after use.[8]
- Store supplies out of reach of children and pets, including the sharps container.[8]
- Keep a simple log of the date, dose and site. The tesamorelin instructions suggest writing down each site to help with rotation.[1]
Supplies checklist
| Item | Why |
|---|---|
| Your prescribed product, checked for expiry and appearance | Do not use a solution that is cloudy, discolored or has particles[1] |
| New sterile syringe and needle (or pen needle) | One needle, one syringe, one time[4] |
| Alcohol pads | To clean the vial stopper and the skin[1] |
| Gauze and a bandage | To press on the site afterward[1] |
| FDA-cleared sharps container, or a heavy-duty plastic household container with a tight, puncture-resistant lid | Safe disposal right after the injection[7] |
If your product is a powder, mix it first using our guide on how to reconstitute peptides, and work out the volume with our guide on how to calculate peptide dosage.
Choose and rotate your injection site
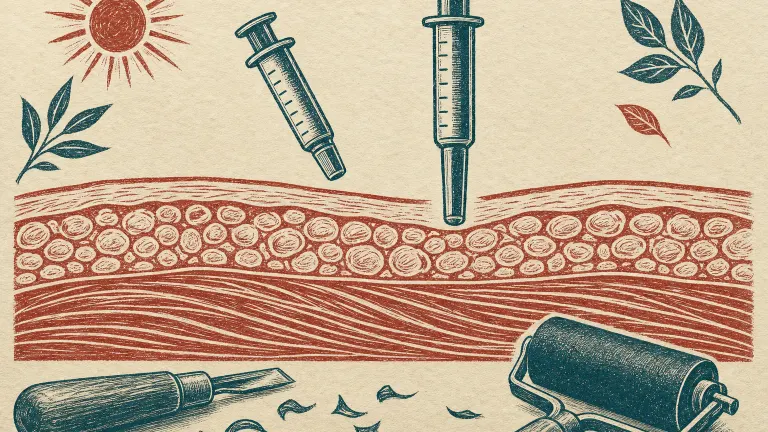
Subcutaneous means into the fat layer just under the skin, above the muscle.
| Site | Labeled for | Tips |
|---|---|---|
| Abdomen | Tirzepatide, semaglutide, tesamorelin[1][2][3] | Stay at least 2 inches (5 cm) from the belly button[1] |
| Front of thigh | Tirzepatide, semaglutide[2][3] | Use the upper outer area |
| Back of upper arm | Tirzepatide (by another person), semaglutide[2][3] | Hard to pinch on yourself |
Rotate every time. The tirzepatide label says to rotate sites with each dose,[2] and the tesamorelin instructions say rotation may help prevent bruising or irritation.[1] Expert injection guidance adds that lipohypertrophy, a rubbery build-up of fat from repeated injections in one spot, is common, distorts absorption, and is prevented by correct rotation.[5]
Avoid scars, bruises, the belly button, and any hard bumps from earlier injections.[1] Our GLP-1 injection sites guide covers whether site choice changes absorption.
How to inject peptides subcutaneously, step by step
These steps follow the tesamorelin instructions for use, one of the few approved peptide products given by vial and syringe at home.[1]
- Wash your hands with soap and water and dry them on a clean towel.[1]
- Check the product. Use it only if it is clear and free of particles.[1]
- Clean the vial stopper with an alcohol pad, then draw up your prescribed volume with a new syringe.[1] Never leave a needle in the stopper between uses.[4]
- Clean the injection site with a fresh alcohol pad and let it dry.[1]
- Pinch a fold of skin gently between your thumb and fingers.[1]
- Insert the needle at a 90-degree angle with a quick, dart-like motion.[1]
- Let go of the skin fold, keeping the needle in place.[1]
- Push the plunger slowly until the syringe is empty.[1]
- Pull the needle straight out at the same angle you put it in.[1]
- Press gauze on the site for about 30 seconds; add a bandage if it bleeds.[1]
- Do not recap the needle. Put the whole syringe into the sharps container right away.[1]
Needle length, angle and pinching
Shorter needles are now the standard. The FITTER expert recommendations, written by 183 diabetes specialists, say the shortest needles (4 mm pen needles and 6 mm syringe needles) are safe, effective and less painful, and should be the first choice for all patients.[5]
An ultrasound study of 388 adults found the fat layer averaged about 10.8 mm on the arm, 10.4 mm on the thigh and 13.9 mm on the abdomen. It concluded that 4 to 5 mm needles at 90 degrees reach the fat layer with minimal risk of hitting muscle in virtually all adults, while needles of 8 mm or longer may often enter muscle in the limbs of men and lean people.[6]
- 90 degrees is the default for short needles.[1][5]
- A pinch helps with longer needles or very lean sites. If your product’s instructions say to pinch, do so.[1]
- Accidental muscle injection can change how fast a drug is absorbed. See subcutaneous vs intramuscular injection.
Common mistakes to avoid
- Injecting into the same spot repeatedly, which raises the risk of lumps and irritation.[5]
- Injecting through clothing or before the alcohol has dried.
- Reusing needles or leaving a needle in a multi-dose vial.[4]
- Recapping a used needle, which labels tell you not to do.[1]
- Throwing loose needles in the trash. See how to dispose of needles.[8]
- Guessing the volume. Confusing milligrams, milliliters and syringe units can lead to large dosing errors; use our peptide calculator to double-check your math.
Mild redness or itching at the site is common with injected peptides. Our guide to peptide injection site reactions explains what is normal and what is not.